




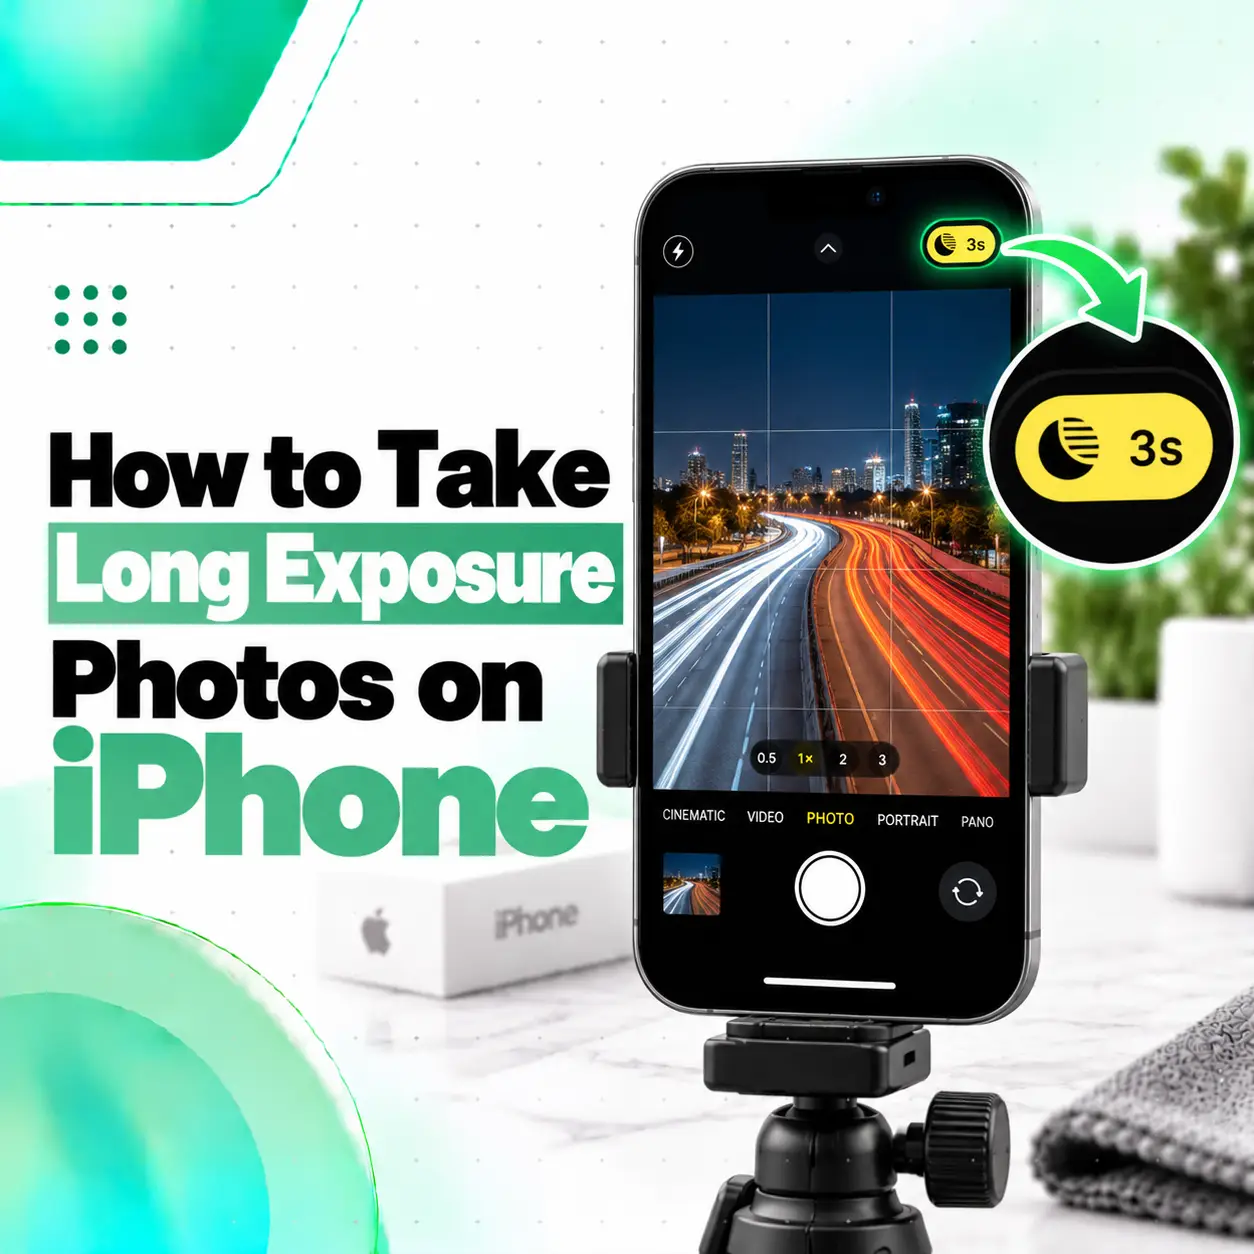
You do not need a DSLR or a dedicated manual camera to create a long exposure photo on an iPhone. The easiest built-in method is to capture a scene as a Live Photo, then apply Apple’s Long Exposure effect in the Photos app. This works especially well for moving water, waterfalls, traffic, people walking through a scene, and other subjects where motion blur adds visual impact.
For low-light scenes, supported iPhones also offer Night mode, which can use longer exposure times while the phone is held steady. Apple recommends keeping the iPhone stable and notes that a tripod can help produce more detailed Night mode images.
This guide explains both approaches, when to use each one, and how to get cleaner long-exposure results from your iPhone.
What Is Long Exposure Photography on iPhone?
Long exposure photography means capturing a scene over a longer period instead of freezing a single instant.
On a traditional camera, photographers usually create this effect by using a slower shutter speed. During that exposure, anything that moves may appear blurred while stationary objects remain relatively sharp.
On an iPhone, there are two practical built-in approaches:
- Live Photo Long Exposure effect — combines motion captured around the moment you take the photo and simulates a long-exposure look.
- Night mode — uses a longer capture process in low light to gather more detail.
Apple describes the Long Exposure option in Live Photos as an effect that simulates a DSLR-like long exposure by blurring movement.
These methods are useful for different situations, so they should not be treated as exactly the same thing.
Does iPhone Have a Long Exposure Mode?
The standard iPhone Camera app does not provide a traditional dedicated long-exposure mode on every model, but iOS includes a Long Exposure effect for Live Photos.
The effect is applied after you take a Live Photo.
The basic workflow is:
- Take a Live Photo.
- Open it in Photos.
- Tap Live.
- Choose Long Exposure.
Apple currently lists Long Exposure alongside the Live, Loop, and Bounce effects available for Live Photos.
This makes it one of the easiest ways to create motion-blur photography without installing another camera app.
How to Take Long Exposure Photos on iPhone Using Live Photos
For most users, this is the simplest method.
Step 1: Open the Camera App
Open the Camera app and make sure you are using Photo mode.
Step 2: Turn On Live Photos
Make sure Live Photos is enabled.
On current iPhone software, you can access Live Photo controls from Camera Controls or by swiping up from Photo mode. Apple notes that Live Photos capture what happens just before and after the shutter is pressed.
Depending on your interface, look for the Live Photo icon.
If it is disabled, turn it on before taking the photo.
Step 3: Frame a Scene With Movement
Choose a scene where part of the image is moving.
Good examples include:
- Waterfalls
- Rivers
- Ocean waves
- Moving traffic
- Ferris wheels
- People walking
- Fountains
- Moving clouds
- Train or bus traffic
- Light displays
Long exposure is most effective when there is a contrast between a stable background and a moving subject.
Step 4: Hold the iPhone Steady
Keep your phone as still as possible while taking the Live Photo.
A tripod is ideal, but you can also:
- Rest the iPhone on a wall
- Place it on a table
- Lean it against a stable object
- Use both hands and brace your elbows
- Use a phone clamp or stand
Camera movement can blur the entire image instead of only the moving subject.
Step 5: Take the Live Photo
Tap the shutter button.
Do not immediately swing or lower the phone. Because a Live Photo captures motion surrounding the shutter press, staying stable improves the material available for the final effect. Apple confirms that Live Photos record what happens immediately before and after the photo is taken.
Step 6: Open the Photo in the Photos App
Go to Photos and open the Live Photo you just captured.
Step 7: Apply the Long Exposure Effect
Tap Live near the top of the image and select:
Long Exposure
Apple’s current Photos guide lists this effect as the built-in option for simulating DSLR-like long exposure by blurring movement.
The iPhone will process the frames in the Live Photo and create the final long-exposure appearance.
Quick Steps: iPhone Live Photo Long Exposure
For a fast reference:
- Open Camera.
- Select Photo mode.
- Turn on Live Photos.
- Keep the iPhone steady.
- Photograph a moving subject.
- Open the image in Photos.
- Tap Live.
- Select Long Exposure.
This is the easiest built-in method for most iPhone users.
What Subjects Work Best for iPhone Long Exposure?
Long exposure works best when the scene contains meaningful movement.
Waterfalls
Waterfalls are one of the easiest subjects to practice with.
A regular photo freezes individual drops and splashes. A long exposure blends that movement, creating a smoother, flowing appearance.
For better results:
- Keep rocks and trees sharp
- Stabilize the iPhone
- Avoid touching the phone during capture
- Frame the waterfall so the water occupies a meaningful part of the image
Rivers and Streams
Moving water can become smooth and soft while the surrounding landscape remains sharp.
This works particularly well when the water moves quickly enough to create visible motion across the Live Photo frames.
Traffic and Vehicle Lights
Moving cars can create a sense of movement through the scene.
At night, headlights and taillights can produce light-trail-style effects, although the built-in Live Photo method is more limited than a true multi-second manual shutter exposure.
People Walking
A long exposure can blur moving people while buildings, streets, or architecture remain sharp.
This can be useful for:
- Busy markets
- Train stations
- Shopping areas
- Street photography
- Tourist attractions
Fountains
Fountains are excellent practice subjects because the moving water is easy to distinguish from the background.
Ocean Waves
Use long exposure to soften the appearance of waves and create a smoother coastline effect.
A stable phone is especially important because coastal scenes often have strong wind.
How to Take Long Exposure Photos at Night on iPhone
For nighttime scenes, Night mode can be more useful than relying only on the Live Photo Long Exposure effect.
On supported iPhone models, Night mode activates automatically when the Camera app detects a low-light environment. Apple states that the iPhone chooses an exposure time automatically, although users can select from available Night mode exposure options.
How to Use Night Mode
- Open Camera.
- Frame a low-light scene.
- Wait for Night mode to activate.
- Open Camera Controls if needed.
- Select Night Mode.
- Choose from the available exposure options.
- Keep the iPhone completely steady.
- Press the shutter.
- Hold the phone still until capture finishes.
Apple specifically recommends a tripod for more detailed Night mode photos.
Is Night Mode the Same as Long Exposure?
No.
Both can involve longer capture times, but they are designed for different purposes.
| Feature | Main Purpose | Best For |
| Live Photo Long Exposure | Blur visible movement | Water, crowds, traffic |
| Night mode | Improve low-light image capture | Night scenes, buildings, landscapes |
| Manual slow shutter app | Greater shutter control | Advanced light trails and creative exposure |
Live Photo Long Exposure is mainly a creative motion effect.
Night mode is primarily designed to improve low-light image quality.
You can experiment with both depending on your scene.
Which iPhones Support Night Mode?
Apple states that Night mode is available on iPhone 11 and later, although the exact cameras and related Night mode capabilities can vary by model.
Live Photos are available across many iPhone generations, so the Live Photo technique can work even when the device does not support modern Night mode features.
Before following a model-specific tutorial, check whether the camera feature it references is available on your particular iPhone.
Can You Set a Manual Shutter Speed on iPhone?
The built-in Camera app does not offer traditional DSLR-style manual shutter control across all iPhone models and camera configurations.
Apple does provide controls for exposure and Night mode capture time, but these are not identical to manually selecting a specific shutter speed such as:
- 1 second
- 5 seconds
- 10 seconds
- 30 seconds
For more precise creative control, photographers may use third-party camera apps that support manual shutter settings.
This can be useful for:
- Long traffic trails
- Night-city photography
- Light painting
- Extended water blur
- Experimental motion photography
However, the built-in Live Photo method is usually easier for beginners.
How to Take Long Exposure Waterfall Photos on iPhone
Waterfalls are one of the best places to learn the technique.
Recommended Method
- Put the iPhone on a tripod or stable surface.
- Open Camera.
- Enable Live Photos.
- Frame the waterfall.
- Avoid excessive digital zoom.
- Tap the waterfall or surrounding rocks to set focus.
- Take the Live Photo.
- Remain still during the capture.
- Open the image in Photos.
- Tap Live > Long Exposure.
The moving water should become smoother while stable objects remain more defined.
Composition Tip
Include stationary elements such as:
- Rocks
- Trees
- Bridges
- Buildings
These provide a sharp reference point that makes the motion effect more noticeable.
How to Take Light Trail Photos on iPhone
Light trails are produced when a moving light source travels through the frame during a longer capture.
Good subjects include:
- Car headlights
- Taillights
- Ferris wheels
- Moving bicycles
- City traffic
- Decorative lighting
For Better Results
Use a tripod and position the iPhone where traffic crosses the frame rather than moving directly toward the camera.
The Live Photo Long Exposure effect may create shorter or subtler trails than a dedicated slow-shutter app because it is based on a limited Live Photo capture.
For longer and more dramatic trails, a manual camera app with shutter-speed control may provide greater flexibility.
Do You Need a Tripod for iPhone Long Exposure?
A tripod is strongly recommended but not always mandatory.
The key requirement is stability.
If your iPhone moves while the image is being captured, stationary objects may become blurry.
Alternatives to a Tripod
You can:
- Place the phone on a railing
- Rest it against a wall
- Use a small tabletop stand
- Brace your hands against a solid surface
- Use a clamp
- Set the phone on a stable object
Apple also recommends keeping the iPhone still during Night mode capture and suggests using a tripod to improve detail.
How to Reduce Camera Shake
Camera shake is one of the biggest causes of poor long-exposure images.
Try these techniques:
Use a Timer
Using a short timer can reduce movement caused by tapping the shutter button.
Use a Stable Surface
Place the phone somewhere secure instead of holding it by hand.
Avoid Wind
Wind can move a lightweight phone tripod.
Do Not Touch the Phone During Capture
Once you press the shutter, keep the phone stable until the shot is complete.
Use the Volume Button Carefully
You can use a volume button as a shutter control, but pressing it can still move the device if it is mounted loosely.
How to Control Exposure Before Taking the Photo
You can adjust the image exposure directly in the Camera app.
Apple’s current Camera guide allows users to access the Exposure control and move a slider to adjust the level. The setting can also be preserved under Settings > Camera > Preserve Settings > Exposure Adjustment on supported models.
For bright scenes, slightly lowering exposure can sometimes help preserve highlight detail.
This may be useful when photographing:
- Water in bright sunlight
- City lights
- Street lamps
- Reflections
- Illuminated signs
Avoid extreme adjustments that make the scene unnaturally dark.
Why Is My iPhone Long Exposure Photo Blurry?
Some blur is intentional in long exposure photography, but the entire image should not necessarily be blurry.
Common causes include:
The Phone Moved
If the iPhone shifts during capture, stationary objects also blur.
Solution: Use a tripod or stable surface.
The Subject Has Too Much Movement
If nearly everything in the frame is moving, the image may have no clear visual anchor.
Solution: Include stable objects.
You Used Too Much Digital Zoom
Digital zoom can reduce apparent detail and exaggerate camera shake.
Solution: Move physically closer when practical.
The Lens Is Dirty
Fingerprints can make bright lights appear soft or smeared.
Solution: Gently clean the camera lens before shooting.
Low Light Is Too Extreme
Very dark scenes can challenge image quality.
Solution: Try Night mode, stabilize the phone, or choose a scene with more usable light.
Why Can’t I Find Long Exposure in Photos?
The Long Exposure effect only appears for a photo that was captured as a Live Photo.
If you cannot find the option:
- Confirm that the image is a Live Photo.
- Open it in Photos.
- Look for the Live control.
- Tap it and check for Long Exposure.
Apple’s current Photos documentation lists Long Exposure as a Live Photo effect.
A normal still photo cannot simply be converted into the same built-in Long Exposure effect through this menu.
Why Is Live Photo Not Working?
If Live Photos are unavailable in Camera, check your current camera format and settings.
Apple notes that Live Photos are not available when certain high-resolution capture options such as ProRAW or HEIF Max are active.
If necessary:
- Check Camera controls.
- Disable incompatible capture settings temporarily.
- Enable Live Photos again.
- Take a new image.
You cannot apply the built-in Long Exposure effect if the source image was not captured as a Live Photo.
Can You Use Long Exposure During the Day?
Yes.
Daytime long exposure works particularly well with:
- Waterfalls
- Rivers
- Fountains
- Moving crowds
- Transportation
- Wind-blown vegetation
However, extremely bright light can make traditional long exposures difficult because slower shutter speeds let in more light.
The Live Photo Long Exposure effect partly avoids this problem because it is computationally created from Live Photo frames rather than simply keeping a conventional shutter open for several seconds.
For advanced daytime manual long exposure, photographers may use an ND filter along with a manual camera app.
What Is an ND Filter, and Do You Need One?
An ND filter, or neutral-density filter, reduces the amount of light entering the camera.
Think of it as sunglasses for the camera lens.
A physical ND filter can be useful if you are using a camera app that allows genuinely slow shutter speeds in bright daylight.
Possible uses include:
- Silky waterfalls
- Smooth ocean surfaces
- Cloud movement
- Long daytime traffic exposures
You generally do not need an ND filter simply to use Apple’s built-in Live Photo Long Exposure effect.
Best iPhone Long Exposure Settings for Beginners
There is no single perfect setting because each scene is different.
A useful starting approach is:
| Situation | Recommended Approach |
| Waterfall in daylight | Live Photo + Long Exposure |
| Fountain | Live Photo + Long Exposure |
| People walking | Live Photo + Long Exposure |
| Night city | Night mode + tripod |
| Car light trails | Live Photo or manual slow-shutter app |
| Dark landscape | Night mode |
| Advanced light painting | Manual camera app + tripod |
| Ocean waves | Live Photo + Long Exposure |
Experimentation is part of the process.
Tips for Better Long Exposure Photos on iPhone
Keep the Background Stable
A sharp building, rock, bridge, or landscape gives the eye something to anchor to.
Look for Continuous Movement
Water flowing continuously often works better than a subject that moves only briefly.
Avoid Excessive Zoom
Use the optical camera options available on your device where practical.
Clean the Lens
This is especially important around lights at night.
Compose Before Shooting
Long exposure cannot fix weak composition.
Pay attention to:
- Leading lines
- Reflections
- Symmetry
- Foreground elements
- Light direction
Take Several Versions
Small changes in timing can significantly change the final motion pattern.
Capture several Live Photos and compare the resulting Long Exposure effects.
Should You Edit a Long Exposure Photo Afterwards?
Yes, light editing can improve the final image.
In Photos, you can adjust:
- Exposure
- Highlights
- Shadows
- Contrast
- Brightness
- Black Point
- Saturation
- Warmth
- Sharpness
- Crop
Avoid excessive processing that introduces unnatural halos, oversaturated colors, or aggressive sharpening.
The long-exposure effect should remain the visual focus.
Does Long Exposure Damage the iPhone Camera?
No. Using Live Photos, Night mode, or longer software-controlled exposure does not normally harm the iPhone camera.
These are standard camera functions.
If your camera instead shows problems such as:
- Persistent shaking
- Failure to focus
- Black preview
- Blurry images in normal lighting
- Camera app crashes
- Lens damage after a drop
then the issue may be unrelated to long-exposure photography.
If basic troubleshooting does not solve a genuine camera hardware problem, a professional iPhone repair provider such as iCareFix can inspect the camera module, lens area, stabilization system, or related hardware.
Frequently Asked Questions
1. How do I take a long exposure photo on iPhone?
The easiest method is to enable Live Photos, take a photo while keeping the iPhone steady, open the image in Photos, tap Live, and select Long Exposure. Apple describes this effect as simulating DSLR-style long exposure by blurring movement. It works particularly well with flowing water, traffic, fountains, and moving crowds.
2. Does iPhone have a built-in long exposure setting?
Yes, but it works differently from a traditional camera’s manual shutter mode. Apple’s Photos app includes a Long Exposure effect for Live Photos. You first capture the scene as a Live Photo and then apply the effect afterward. Night mode can also use longer exposure times in low light on supported iPhones.
3. Can I take a long exposure photo without a tripod?
Yes, but the phone needs to remain very steady. You can brace the iPhone against a wall, railing, table, or another stable surface. A tripod usually produces more consistent results, particularly at night. Apple recommends keeping the device still during Night mode capture and notes that a tripod can improve detail.
4. Can I use Night mode for long exposure photography?
Yes, Night mode can use longer capture times in low-light environments, but its primary purpose is improving low-light photographs rather than deliberately creating motion blur. The iPhone automatically chooses an exposure time, and available Night mode exposure options can be adjusted on supported models. For creative motion blur, Live Photo Long Exposure may be more suitable.
5. Why can’t I find the Long Exposure option on my iPhone?
The built-in Long Exposure option is a Live Photo effect, so it will not appear for an ordinary still image. Open a photo that was captured with Live Photos enabled, tap Live near the top, and choose Long Exposure. Also note that Live Photos may be unavailable while certain high-resolution capture modes are enabled.
6. How can I photograph car light trails on an iPhone?
Mount the iPhone securely, frame a road with moving traffic, capture a Live Photo, then apply Long Exposure in Photos. For longer or more dramatic trails, consider a camera app that provides manual shutter-speed control. Avoid moving the phone during the capture because camera movement can blur buildings, roads, and other stationary parts of the frame.
7. Why does my iPhone long exposure look bad or completely blurry?
The most common cause is camera movement. Long-exposure effects work best when the phone and background remain steady while only part of the scene moves. Use a tripod or stable surface, clean the camera lens, avoid excessive digital zoom, and capture several versions. For low-light scenes, Night mode with a stable iPhone may also improve image quality.
Conclusion
Learning how to take long exposure photos on iPhone is easier than it may appear. For most users, the simplest method is:
Camera > Live Photo > Take the photo > Photos > Live > Long Exposure
This built-in technique is ideal for waterfalls, fountains, crowds, traffic, waves, and other moving subjects. For darker scenes, Night mode can extend capture time and gather more detail, especially when the iPhone is stabilized on a tripod or solid surface.
Focus on three things: movement in the subject, stability in the phone, and strong composition. Once those are under control, experiment with different scenes and timing rather than relying on one fixed setup.
Long exposure photography itself does not require phone repair. However, if your camera cannot focus, continuously shakes, shows a black preview, or produces abnormal images after physical damage, iCareFix can inspect the iPhone and determine whether a camera or related hardware issue needs attention