




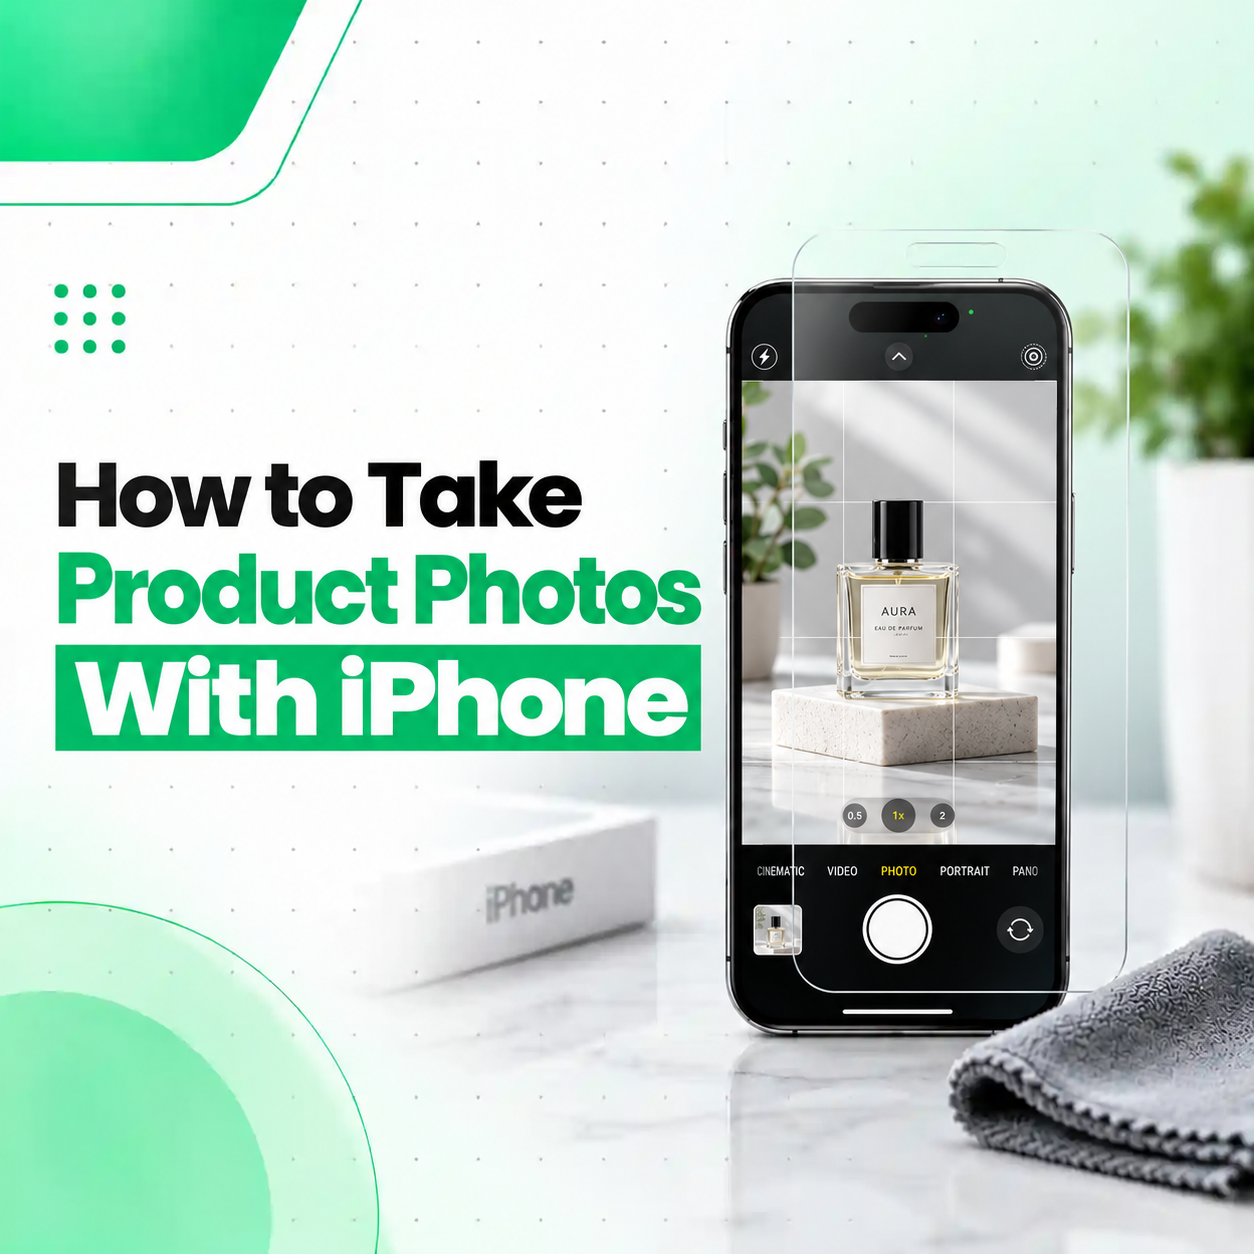
Taking product photos with an iPhone can produce professional-looking results if you get the lighting, background, focus, composition, and editing right. You do not necessarily need an expensive camera or complicated studio setup. A clean surface, consistent lighting, a stable phone, and a few camera adjustments can make a major difference.
If you are wondering how to take product photos with iPhone, this guide explains a practical process from preparing the product to taking, editing, and exporting the final image. It also covers useful iPhone camera settings, common mistakes, close-up photography, lighting techniques, and tips for creating product images suitable for websites, online shops, social media, and marketplaces.
What Is the Best Way to Take Product Photos With an iPhone?
The best approach is to use soft, even lighting, a clean background, a stable camera position, accurate focus, and consistent framing. Place the product near a large window or use diffused artificial lighting, clean the camera lens, tap the product to focus, and take several photos from useful angles.
A simple product photography setup can include:
- An iPhone with a clean camera lens
- A plain background
- Natural window light or soft artificial light
- A small table or stable surface
- A tripod or phone stand
- White paper or foam board for light reflection
- A simple editing workflow
You can create effective product images without building a full photography studio.
How to Prepare Your Product Before Taking Photos
Good product photography starts before you open the Camera app. Small imperfections that are difficult to notice in person can become very obvious in a close-up photograph.
Clean the Product
Remove:
- Dust
- Fingerprints
- Smudges
- Packaging marks
- Loose fibers
- Stickers that should not appear in the final image
For glossy products such as phones, watches, electronics, glass items, and accessories, fingerprints and reflections can be particularly noticeable.
Clean the iPhone Camera Lens
A dirty camera lens can make product photos look soft, hazy, or low in contrast.
Before shooting, gently clean the camera lens with a suitable soft lens-cleaning cloth. Avoid placing your fingers over the camera lenses while taking the photo.
Remove Unnecessary Packaging
If the purpose of the image is to showcase the product itself, keep the composition focused on the product. Remove distracting packaging unless the packaging is an important part of what you are selling.
How to Set Up Lighting for iPhone Product Photography
Lighting is one of the most important factors in product photography. A good iPhone camera cannot fully compensate for harsh, uneven, or poorly positioned lighting.
Use Soft Natural Light
A large window can provide excellent product photography light.
Place the product near the window rather than directly under strong sunlight. Diffused daylight generally creates softer shadows and more even illumination.
Avoid placing the product in direct midday sunlight if it creates:
- Harsh shadows
- Bright highlights
- Strong reflections
- Uneven exposure
Use Two Light Sources When Necessary
For more controlled product photography, place one main light near the product and use a white surface on the opposite side to bounce some light back.
A simple setup can look like:
Light source → Product ← White reflector
The white reflector can be a piece of white foam board, paper, or another neutral reflective surface.
Avoid Mixing Different Light Colors
Try not to combine daylight with strongly colored indoor bulbs. Different light sources can produce inconsistent colors across the product.
This matters particularly when photographing products where accurate color representation is important.
How to Choose the Best Background
A background should support the product rather than compete with it.
For standard e-commerce product images, a simple white, light gray, or neutral background often works well. For lifestyle photography, you can use a more contextual environment as long as it does not distract from the product.
Use a Plain Background for Catalog Photos
A plain background makes it easier for viewers to identify the product.
It also makes a product image easier to reuse across:
- E-commerce product pages
- Online catalogs
- Social media
- Product listings
- Promotional graphics
Keep the Background Consistent
If you are photographing multiple products, use the same background, lighting direction, camera position, and framing where possible.
Consistency makes a product catalog look more professional.
Which iPhone Camera Mode Should You Use for Product Photos?
For most standard product photos, Photo mode is the safest starting point. Portrait mode can be useful for certain lifestyle images, but it is not always ideal when the entire product needs to remain sharp.
The exact camera features available depend on the iPhone model. Apple notes that not all camera features are available on every model.
Use the Main Camera for General Product Photography
The main camera is usually a strong choice for standard product images because it provides a natural perspective without requiring you to move extremely close to the product.
Use Macro for Small Details
If your iPhone supports macro photography, it can be useful for photographing small product details such as:
- Texture
- Buttons
- Ports
- Jewelry details
- Product labels
- Small components
When the iPhone automatically switches to the Ultra Wide camera for macro photography, Apple recommends moving slightly farther away or switching to 0.5x if the close-up image becomes blurry.
Be Careful With Digital Zoom
Avoid excessive digital zoom when possible. Instead, position the iPhone at an appropriate distance and use the camera’s available optical or native lens options.
This can help preserve detail and reduce the risk of a soft-looking image.
How to Focus on a Product With an iPhone
Correct focus is essential because product photos often contain fine details.
Open the Camera app and tap the part of the product you want to be sharp. Apple allows you to manually adjust exposure after selecting the focus area. You can also touch and hold the focus area to use AE/AF Lock on supported camera experiences.
Focus on the Most Important Product Detail
For a single product, focus on the area that communicates the product’s key feature.
For example:
- Smartphone → screen or main body
- Watch → dial and hands
- Jewelry → main stone or design
- Electronic accessory → primary controls or connector
- Shoe → upper material and design
Avoid Accidental Focus on the Background
If the background is visually prominent, the iPhone may focus on something other than the product. Tapping the product before shooting helps you control the focus point.
How to Adjust Exposure for Better Product Photos
Exposure controls how bright or dark the photograph appears.
If the product looks too dark, increase exposure slightly. If bright areas are losing detail, reduce exposure.
Apple’s current iPhone camera tools allow you to tap the desired focus area and adjust exposure using the on-screen control.
Don’t Overexpose White Products
White products photographed against bright backgrounds can lose visible edges if the image is too bright.
Check the product’s shape, texture, and important details before taking the final shot.
Lock Exposure for Consistent Product Photos
If you are photographing several products in the same setup, locking exposure can help maintain consistency.
Apple also provides an Exposure Adjustment option under Camera settings on supported iPhones so the adjustment can be preserved between camera sessions.
How to Compose Product Photos With an iPhone
Composition determines how the product is positioned inside the frame.
For straightforward e-commerce images, keep the product centered and leave enough space around it for cropping.
For lifestyle images, you can experiment with the rule of thirds and negative space.
Turn On Grid and Level
The iPhone can display a grid and level to help you straighten and compose photographs. Apple provides these controls under Settings > Camera > Grid and Level on supported iOS versions.
These tools can be especially useful when photographing:
- Phones
- Laptops
- Boxes
- Books
- Watches
- Furniture
- Flat products
Keep the Product Straight
If the product has strong horizontal or vertical edges, make sure those lines do not appear unintentionally tilted.
A slightly crooked product photo can make an otherwise good image look less polished.
Should You Use Portrait Mode for Product Photography?
Portrait mode can be useful when you want the product separated from its background, but it is not always the best choice for catalog photography.
If the product has complex edges, small protruding parts, transparent areas, or multiple depth levels, background separation may not look perfectly natural.
For a standard product listing, a normal Photo-mode image with controlled lighting is often easier to keep consistent.
How to Take Product Photos From Different Angles
One product image rarely shows everything a customer needs to know.
Consider taking several useful views.
Front View
Show the product clearly from the primary angle.
Three-Quarter View
A slightly angled view can communicate the product’s shape and depth.
Side View
Useful for showing:
- Thickness
- Ports
- Buttons
- Side controls
- Materials
Detail Shot
Use a close-up to show an important feature or texture.
Back View
Useful when the back design, ports, labels, or construction matters.
The exact number of photos depends on the product and where the images will be used.
How to Take Product Photos for an Online Store
If the images are intended for an online store, prioritize clarity and consistency over complicated creative effects.
A practical product-photo sequence is:
- Prepare and clean the product.
- Clean the iPhone camera lens.
- Set up a simple background.
- Position the product consistently.
- Use soft, even lighting.
- Open the Camera app in Photo mode.
- Tap the product to focus.
- Adjust exposure if necessary.
- Check the edges and background.
- Take several photos.
- Review them at full size.
- Crop and adjust the best images.
This workflow works particularly well when you need to photograph several products for a catalog.
How to Take Better Product Photos in Low Light
Low light can cause product photos to look noisy, soft, or blurry.
If possible, improve the lighting before increasing camera settings.
For supported iPhone models, Night mode can automatically improve low-light photographs. Apple recommends keeping the iPhone steady when using Night mode for better results.
A tripod or stable phone stand can also help prevent camera movement.
Avoid Using Flash as the First Solution
Direct flash can create harsh reflections, especially on:
- Glass
- Metal
- Glossy plastic
- Phone screens
- Watches
- Jewelry
Improving the room lighting or using a diffused light source is often a better starting point.
How to Photograph Reflective Products With an iPhone
Reflective products are among the more difficult subjects to photograph because they can reflect the camera, photographer, room, windows, and lights.
Instead of pointing a bright light directly at the product:
- Use larger diffused light sources.
- Move the light rather than simply increasing brightness.
- Change the camera angle.
- Keep unnecessary objects away from the shooting area.
- Watch the product surface through the iPhone screen before taking the shot.
For glossy products, small changes in camera or light position can significantly change the reflection.
How to Take Close-Up Product Photos With an iPhone
For small product details, move carefully and check focus before pressing the shutter.
If your iPhone supports macro photography, use it when appropriate. Apple’s macro controls allow supported iPhones to automatically switch to the Ultra Wide camera for very close subjects.
If the close-up becomes blurry:
- Move slightly farther from the product.
- Check the focus point.
- Try the available macro control.
- Stabilize the iPhone.
- Take several versions and compare them.
Should You Shoot in RAW for Product Photography?
RAW can be useful when you plan significant post-processing, but it is not necessary for every product photograph.
Apple ProRAW is available on supported iPhone models and preserves more image information for adjustments to exposure, color, and white balance. However, ProRAW files are substantially larger than standard HEIF or JPEG files.
For simple online-store photography, standard formats may be more convenient. For professional editing workflows where you need greater control, a supported RAW workflow may be worth considering.
How to Edit Product Photos on an iPhone
After taking the photograph, use the Photos app to make controlled adjustments rather than applying heavy filters.
Apple’s Photos editing tools can adjust aspects such as light and color, while also allowing cropping and straightening.
A simple editing sequence is:
- Crop the image.
- Straighten it if necessary.
- Adjust exposure.
- Correct highlights and shadows if needed.
- Fine-tune color.
- Check the product’s natural appearance.
- Compare the edited version with the original.
- Save the final image.
Don’t Over-Edit Product Colors
This is particularly important for products where the actual color matters.
If editing makes a blue product look purple or a black product look gray, the photograph may become misleading.
The goal should be to make the product look clear and attractive while remaining reasonably faithful to the actual item.
Common Product Photography Mistakes With an iPhone
Even a modern iPhone can produce poor product photos if the setup is wrong.
Common mistakes include:
- Dirty camera lens
- Direct harsh sunlight
- Excessive shadows
- Distracting backgrounds
- Product not centered or intentionally composed
- Incorrect focus
- Excessive digital zoom
- Camera shake
- Overexposure
- Heavy filters
- Inconsistent lighting between products
- Incorrect product color
- Cropping important product details
Fixing the setup is usually more effective than trying to repair every problem during editing.
Simple iPhone Product Photography Setup
You can start with a basic setup rather than buying a large amount of equipment.
| Item | Purpose |
| iPhone | Camera |
| Clean background | Keeps attention on the product |
| Window or soft light | Provides illumination |
| White board/paper | Reflects light |
| Tripod or stand | Reduces camera movement |
| Cleaning cloth | Removes fingerprints and dust |
| Editing tools | Final adjustments |
You can expand the setup later if you need more consistent commercial photography.
When Should You Consider Professional Photography Equipment?
An iPhone is sufficient for many product photography tasks, especially for websites, social media, small businesses, and online catalogs.
More specialized equipment may become useful when you need:
- Highly consistent studio lighting
- Large product sets
- Precise color management
- Advanced macro photography
- Controlled reflections
- High-end advertising images
- Extensive RAW post-processing
The right equipment depends on the product, platform, image size, and quality requirements.
What If Your iPhone Camera Is Not Producing Clear Product Photos?
If your photos remain unusually blurry, hazy, distorted, or unfocused even under good lighting and with a clean lens, the issue may not simply be your photography technique.
Possible causes can include:
- Dirty or damaged camera lens
- Camera lens damage
- Autofocus problems
- Camera stabilization problems
- Physical damage
- Software-related camera issues
Before considering repair, test the camera in different lighting conditions and camera modes. If the problem consistently appears across different situations, professional inspection can help determine whether the issue is related to the camera hardware or software.
How to Take Product Photos With iPhone: Quick Checklist
Before taking the final product image, check:
- Product is clean
- Camera lens is clean
- Background is uncluttered
- Lighting is soft and even
- Product is positioned correctly
- Focus is on the important subject
- Exposure looks balanced
- Camera is stable
- Product edges are not accidentally cropped
- Colors look natural
- Several useful angles have been captured
- Final image has been reviewed at full size
Frequently Asked Questions
1. Can I take professional product photos with an iPhone?
Yes. An iPhone can produce high-quality product photos when the lighting, focus, composition, background, and camera stability are handled properly. For many online stores and small businesses, careful setup matters more than simply owning expensive photography equipment.
2. What is the best lighting for iPhone product photography?
Soft, even lighting is usually the best starting point. Natural light from a large window can work well, particularly when it is diffused rather than direct. For more control, use a soft artificial light and a white reflector to reduce harsh shadows.
3. Should I use Portrait mode for product photos?
Portrait mode can work for lifestyle-style product images where you want background separation. For standard catalog photos, however, regular Photo mode may be more practical because you generally want the entire product to remain clear and consistently rendered.
4. Why are my iPhone product photos blurry?
Blurry product photos can result from camera movement, incorrect focus, insufficient light, getting too close to the subject, or a camera-related problem. Try cleaning the lens, improving the lighting, stabilizing the phone, and tapping the product to focus before considering a hardware issue.
5. Should I use RAW when photographing products with an iPhone?
RAW is useful when you need substantial control during editing, particularly over exposure, color, and white balance. Apple ProRAW is available on supported iPhones, but its files are much larger than standard formats. For basic product listings, standard formats may be more convenient.
6. How can I make product photos look consistent?
Use the same background, lighting direction, camera position, framing, and editing approach for each product. Taking multiple products under different lighting conditions can make an online catalog look inconsistent even when the products themselves are photographed well.
7. What should I do if my iPhone camera will not focus properly?
First clean the camera lens and test the camera in good lighting at different distances. Tap the subject to set focus and try another camera mode if appropriate. If focusing remains unreliable across multiple situations, a professional inspection can help determine whether the problem is software-related or caused by the camera hardware.
Conclusion
Learning how to take product photos with iPhone is mostly about controlling the environment rather than relying on complicated camera settings. Start with a clean product, a clean lens, soft lighting, a simple background, stable positioning, accurate focus, and balanced exposure. Then use the Photos app for restrained editing and check the final image before publishing it.
If your iPhone camera consistently produces blurry, hazy, unfocused, or otherwise abnormal images even after basic troubleshooting, the issue may require a closer inspection. iCareFix can assess the device and help identify whether the problem is related to the camera component, lens area, software, or another hardware issue before recommending an appropriate repair option.