




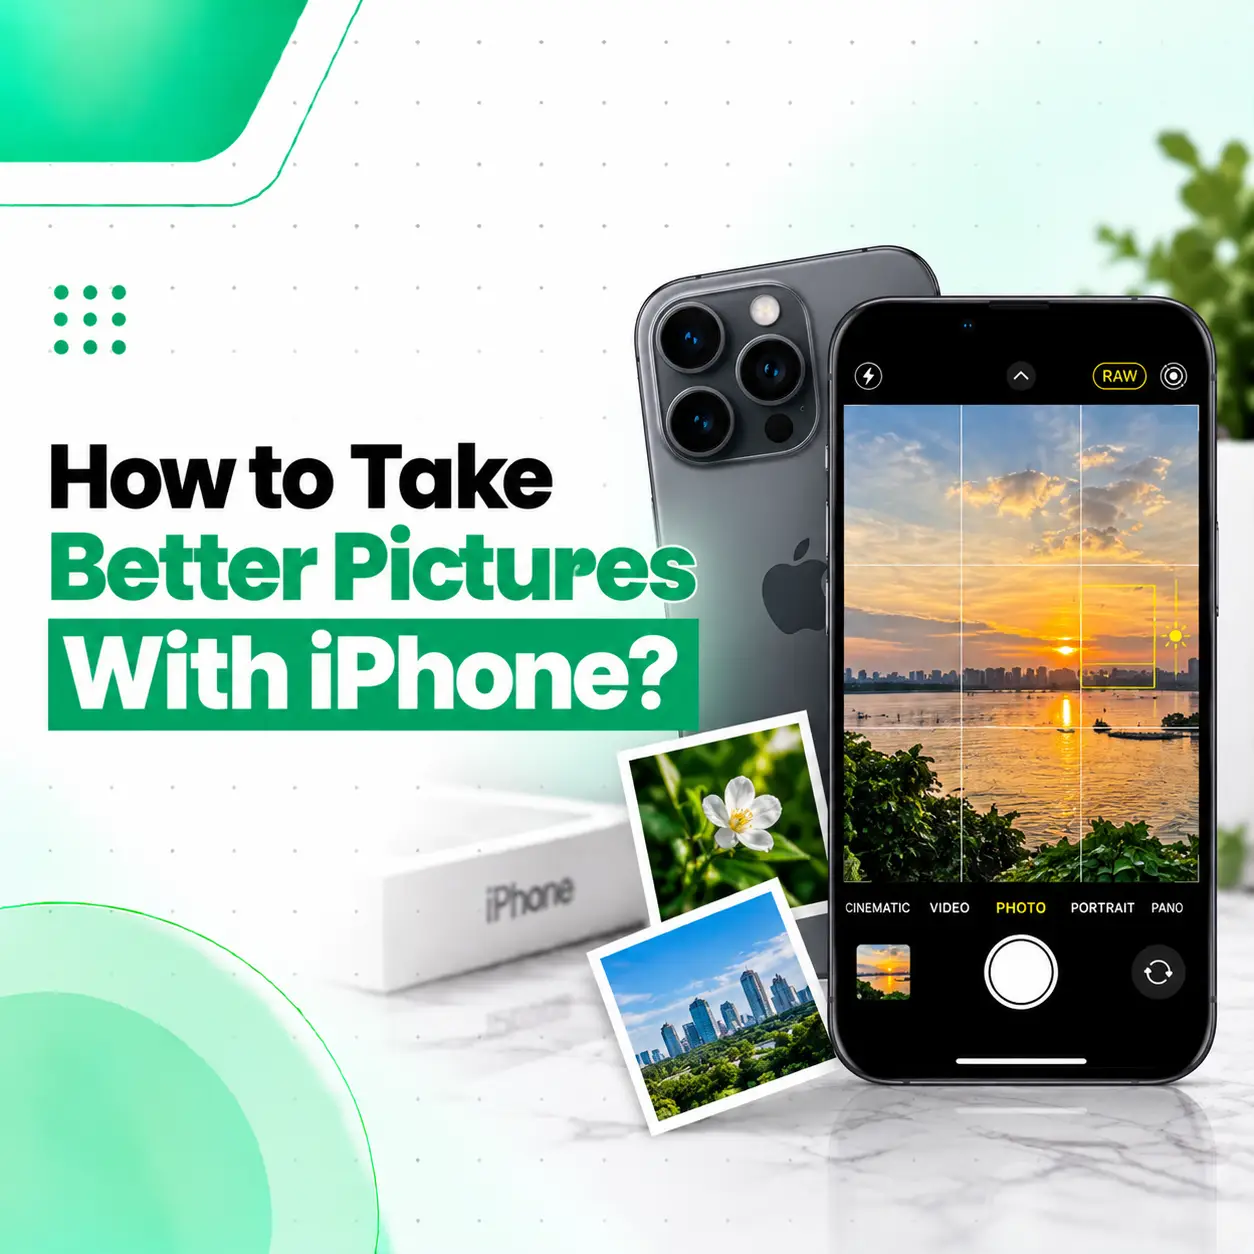
Taking better pictures with iPhone is less about using complicated camera settings and more about controlling light, focus, exposure, composition, and movement. Even if you are using the standard Camera app, a few changes to how you frame and capture a shot can make your photos look noticeably cleaner and more intentional.
The iPhone automatically handles much of the photography process, but you can still control important elements such as focus and exposure, use the grid and level for composition, choose the right camera mode, and adjust Photographic Styles on supported models.
This guide explains practical iPhone photography techniques that work for everyday photos, portraits, food, travel, low-light scenes, and close-ups. It also explains what to do when your camera consistently produces blurry, distorted, or unusually poor-quality images.
What Makes an iPhone Picture Look Better?
A better iPhone picture usually comes from good lighting, accurate focus, controlled exposure, stable framing, and thoughtful composition.
Before taking a photo, pay attention to:
- Where the light is coming from
- Whether your subject is in focus
- Whether bright areas are overexposed
- Whether the phone is being held steadily
- How much unnecessary space is around the subject
- Whether you are using the appropriate lens or camera mode
The camera can automatically manage many settings, but giving it a better scene and more deliberate framing often has a bigger impact than changing advanced settings.
How to Take Better Pictures With iPhone
The simplest approach is to improve your shooting process rather than constantly changing settings.
Clean the Camera Lens
Start with the simplest step: clean the camera lenses.
Fingerprints, dust, oil, or moisture on the lens can reduce contrast and make photos appear hazy or soft, particularly when there is a strong light source in the scene.
Use a clean, soft microfiber cloth and gently wipe the camera lens before shooting.
If photos remain consistently hazy after cleaning, inspect the camera glass for scratches, cracks, condensation, or other physical damage.
Use Better Lighting
Good light is one of the biggest factors in photo quality.
Whenever possible:
- Use natural window light for indoor subjects.
- Avoid placing a bright light directly behind your subject.
- Use softer light for portraits.
- Look for evenly lit areas outdoors.
- Avoid harsh overhead lighting when it creates strong shadows.
For a portrait, for example, moving your subject closer to a window can produce a more balanced result without changing any camera settings.
Tap Your Subject to Focus
The iPhone automatically focuses, but you can tell the camera exactly where you want the focus.
Open Camera and tap the subject you want to be sharp. Apple notes that you can manually move the focus area by tapping the screen.
This is particularly useful when:
- Photographing a person in a busy background
- Taking close-up product photos
- Shooting food
- Photographing small objects
- Capturing a subject through a foreground element
Lock Focus and Exposure When Necessary
If your subject is stationary, touch and hold the focus area until AE/AF Lock appears.
AE/AF Lock means the camera maintains the selected focus and exposure instead of continually changing them as you reframe the shot
This can be useful when taking several photos from a similar position.
Control Exposure for More Balanced Photos
A photo can look poor even when it is technically in focus if it is too bright or too dark.
After tapping your subject, you can adjust exposure by dragging the exposure control up or down.
When to Lower Exposure
Consider reducing exposure when:
- Bright skies look completely white
- A window is extremely bright
- White clothing loses visible detail
- Highlights appear excessively bright
When to Increase Exposure
A small exposure increase may help when:
- Your subject is too dark
- The scene has weak lighting
- The subject is standing in shadow
Avoid automatically making every image brighter. A slightly darker photo can sometimes retain more detail in bright areas and look more natural.
Use the Camera Grid and Level
If your photos often look crooked, turn on the Grid and Level options.
Go to:
Settings → Camera → Grid and Level
Apple provides these tools to help straighten and compose your shots.
The grid can help you position your subject more deliberately, while the level helps keep horizontal lines and landscapes straight.
Use the Grid for Composition
Instead of always placing the subject directly in the center, experiment with positioning it toward one side of the frame.
This can create more visual space and make the photograph feel less static.
For example, when photographing a person looking toward the side, leaving some space in the direction they are looking can produce a more balanced composition.
Choose the Right Camera Mode
The iPhone Camera app includes different modes depending on the model, including Photo, Portrait, Pano, and other specialized modes.
Use Photo Mode for Everyday Pictures
Photo mode is the straightforward choice for:
- Family photos
- Food
- Objects
- Travel scenes
- Pets
- Everyday moments
Use Portrait Mode for People
Portrait mode can create a depth-of-field effect that separates a subject from the background.
It can be useful for:
- Headshots
- Family portraits
- Pet photos
- Casual portraits
However, don’t use Portrait mode automatically for every picture. Sometimes a normal Photo-mode image preserves more of the environment and better represents the scene.
Avoid Excessive Digital Zoom
Zooming in can be useful, but excessive digital zoom can make details look softer.
When possible, move closer to your subject or use an available camera lens rather than relying heavily on digital magnification.
A practical rule is:
If you can safely and comfortably move closer, consider doing that before applying a large digital zoom.
The exact zoom capabilities vary between iPhone models, so available optical and digital options depend on the device.
How to Take Better Portrait Photos on iPhone
For better portraits, focus on the person’s face, lighting, background, and distance rather than relying only on Portrait mode.
Position the Subject Near Soft Light
Window light can work well for indoor portraits.
Try positioning the person so the light falls naturally across their face rather than coming directly from behind them.
Simplify the Background
A distracting background can pull attention away from the subject.
Before pressing the shutter, look around the edges of the frame for:
- Bright objects
- Clutter
- Poles or branches appearing behind someone’s head
- Random people
- Strong visual distractions
A small change in your position can sometimes improve the image more than editing it later.
Leave Some Space Around the Subject
Avoid cutting off important parts of the person’s head, hands, or body unintentionally.
For a tighter portrait, deliberately choose where the frame ends rather than relying on an accidental crop.
How to Take Better Night Photos With iPhone
Low-light photography requires more care because the camera needs to capture enough light while dealing with movement and camera shake.
Keep the iPhone Steady
Hold the phone firmly with both hands when possible.
For particularly dark scenes, support the phone against a stable surface or use a tripod.
Movement during exposure can cause blur.
Use Night Mode When Available
Supported iPhone models can use Night mode to capture scenes in low light.
Avoid moving the phone while the image is being captured. If your subject is moving quickly, however, even a stable phone may not completely eliminate motion blur.
Avoid Flash When It Makes the Scene Look Harsh
Flash can be useful in some situations, but it is not automatically the best solution for every dark scene.
Before using it, consider whether moving toward a better light source would produce a more natural result.
How to Take Sharper iPhone Pictures
If your photos frequently look blurry, check the basics before assuming the camera hardware is defective.
Try these steps:
- Clean the camera lens.
- Tap the subject to focus.
- Hold the iPhone steadily.
- Improve the available lighting.
- Avoid unnecessary digital zoom.
- Check whether the subject itself is moving.
- Compare several photos in different lighting conditions.
Camera Shake vs Subject Movement
There are two common sources of blur.
Camera shake: Your hands move while the image is captured.
Subject movement: The person, pet, vehicle, or object moves during capture.
The solution can be different for each. A tripod can help with camera shake, but it will not stop a moving person from appearing blurred.
Use Live Photos Selectively
Live Photos capture what happens around the moment you press the shutter, including movement and audio.
This can be useful for:
- Children
- Pets
- Group photos
- Candid moments
- Subjects that move unpredictably
It can also give you more flexibility when choosing the key frame afterward.
However, if you specifically want a traditional still photograph, you may prefer to turn Live Photos off.
Try Photographic Styles
On supported iPhone models, Photographic Styles let you customize the overall appearance of photos by adjusting characteristics such as tone, color, and intensity.
This is different from simply applying an editing filter afterward because the style is part of the camera’s photo-processing workflow.
When Should You Use a Photographic Style?
Use one when you consistently prefer a particular look, such as:
- Warmer images
- Cooler tones
- More subdued colors
- Stronger contrast
- A particular visual mood
If you’re unsure, keeping the standard look is a sensible starting point. You can also edit photos later.
Use Macro Photography for Close-Up Subjects
If your iPhone model supports macro photography, it can automatically switch to the Ultra Wide camera for very close subjects. Apple says supported models can focus as close as approximately 2 cm.
Macro mode can work well for:
- Flowers
- Small objects
- Textures
- Jewelry
- Electronics
- Food details
Instead of moving extremely close with the standard camera and expecting it to focus, use the macro capability when your model supports it.
Composition Tips That Make iPhone Photos Better
Technical settings are only part of photography. Composition can make an equally noticeable difference.
Try the Rule of Thirds
Use the grid to imagine the frame divided into thirds.
Positioning important subjects near these intersections can create a more balanced composition.
Look for Leading Lines
Roads, walls, railings, bridges, and architectural lines can naturally guide the viewer’s attention toward the main subject.
Change Your Perspective
Don’t take every photograph from standing height.
Try:
- Lowering the camera
- Raising it slightly
- Moving sideways
- Getting closer
- Stepping farther back
- Photographing through a foreground object
A different viewpoint can make an ordinary scene considerably more interesting.
How to Take Better Food Photos With iPhone
Food photography benefits from good light and careful composition.
For better results:
- Photograph near a window when possible.
- Avoid harsh direct flash.
- Keep the main dish visually prominent.
- Remove unnecessary objects from the frame.
- Try a slightly elevated angle for some dishes.
- Try a lower angle for foods where height and layers matter.
Tap the food to focus and check the exposure before taking the photo.
How to Take Better Travel Photos With iPhone
Travel photos often become stronger when you include context rather than photographing only the main attraction.
Try including:
- Foreground elements
- People for scale
- Architecture
- Local surroundings
- Leading lines
- Natural framing
Take both wide environmental shots and closer detail shots so your photo collection tells more of the story.
What iPhone Camera Settings Should You Check?
There is no single “best” setting for every photograph. Your preferred settings depend on the subject, lighting, and iPhone model.
However, these are useful settings to review:
| Setting | Why It Matters |
| Grid | Helps with composition |
| Level | Helps straighten shots |
| Exposure | Controls overall brightness |
| Focus | Determines what appears sharp |
| Live Photo | Captures motion around the shot |
| Photographic Style | Changes the visual character of photos |
| Night Mode | Helps with supported low-light scenes |
| Macro | Useful for supported close-up photography |
| Aspect Ratio | Changes the framing of the image |
Apple also provides options to preserve certain camera settings, including exposure adjustment, Night mode, Live Photo, and other controls depending on the model.
Why Do My iPhone Pictures Still Look Bad?
If your photos remain unusually blurry, hazy, distorted, or poorly focused despite using good lighting and basic camera techniques, the issue may not be your photography technique.
Possible causes include:
- Scratched or damaged camera glass
- Condensation inside or around the camera area
- A camera lens that cannot focus correctly
- Camera module damage
- Software-related camera problems
- Physical damage following a drop or impact
When Should You Consider Professional iPhone Repair?
Consider professional inspection if:
- The camera cannot focus consistently.
- Photos remain blurry in good lighting.
- The image shakes unexpectedly.
- One camera produces abnormal results while another works normally.
- The camera shows black areas or unusual artifacts.
- The problem started after a drop or liquid exposure.
- Camera performance remains abnormal after restarting and updating the device.
Before repair, back up important data and ask about the diagnostic process and any relevant warranty or parts considerations.
For customers in Bangladesh, a professional phone repair service can help determine whether the issue is caused by settings, software, the camera module, or physical damage.
Frequently Asked Questions
1. How can I make my iPhone pictures look better?
Start with the basics: clean the camera lens, use good lighting, tap your subject to focus, adjust exposure when necessary, and hold the phone steadily. Composition also matters. Use the grid to help frame the subject, avoid unnecessary digital zoom, and experiment with your shooting angle before relying heavily on editing.
2. What is the best iPhone camera setting for taking photos?
There is no single setting that is best for every situation. Photo mode works well for everyday photography, while Portrait mode can suit people and supported subjects. Grid and Level can help with composition, and exposure control can help balance brightness. Available features vary by iPhone model, so use the controls that fit the scene.
3. How do I take sharper pictures on my iPhone?
Clean the lens first, then tap your subject to focus. Hold the iPhone steadily and improve the lighting if the scene is dark. Also check whether your subject is moving. If blur continues across many photos in good lighting, particularly after a drop or impact, the camera hardware may need professional inspection.
4. Should I use Portrait mode for every iPhone photo?
No. Portrait mode is useful when you want a subject separated from the background, particularly for people and some other supported subjects. For landscapes, food scenes, architecture, and everyday situations, standard Photo mode may be more appropriate because it captures the surrounding environment without intentionally creating a portrait-style depth effect.
5. How can I take better night photos with an iPhone?
Keep the iPhone steady and use Night mode when it is available. Avoid moving the phone during capture, and look for available ambient light rather than automatically relying on flash. If your subject is moving, remember that even a stable phone may produce motion blur because the subject itself is changing position.
6. Why are my iPhone pictures blurry even after cleaning the lens?
If cleaning the lens does not help, check focus, lighting, camera movement, and subject movement. Persistent blur can sometimes indicate a focusing problem, damaged camera glass, condensation, or camera-module damage. If the problem began after physical impact or liquid exposure, professional inspection can help identify the underlying cause.
7. Can iCareFix help if my iPhone camera is not taking clear pictures?
If basic camera troubleshooting does not resolve the problem, iCareFix can assess the device to determine whether the issue appears related to software, settings, the camera module, or physical damage. A professional diagnosis is useful when the same camera problem continues across different lighting conditions and subjects.
Conclusion
Learning how to take better pictures with iPhone does not require complicated photography equipment. Start by cleaning the lens, finding better light, tapping to focus, controlling exposure, keeping the phone steady, and improving composition. Features such as Portrait mode, Night mode, Live Photos, Photographic Styles, Grid, Level, and Macro can then help you adapt to different situations.
If your iPhone consistently produces blurry, distorted, shaky, or otherwise abnormal images despite using these techniques, the problem may require more than a camera-setting adjustment. iCareFix can inspect the device and help determine whether professional iPhone repair or another solution is appropriate.