




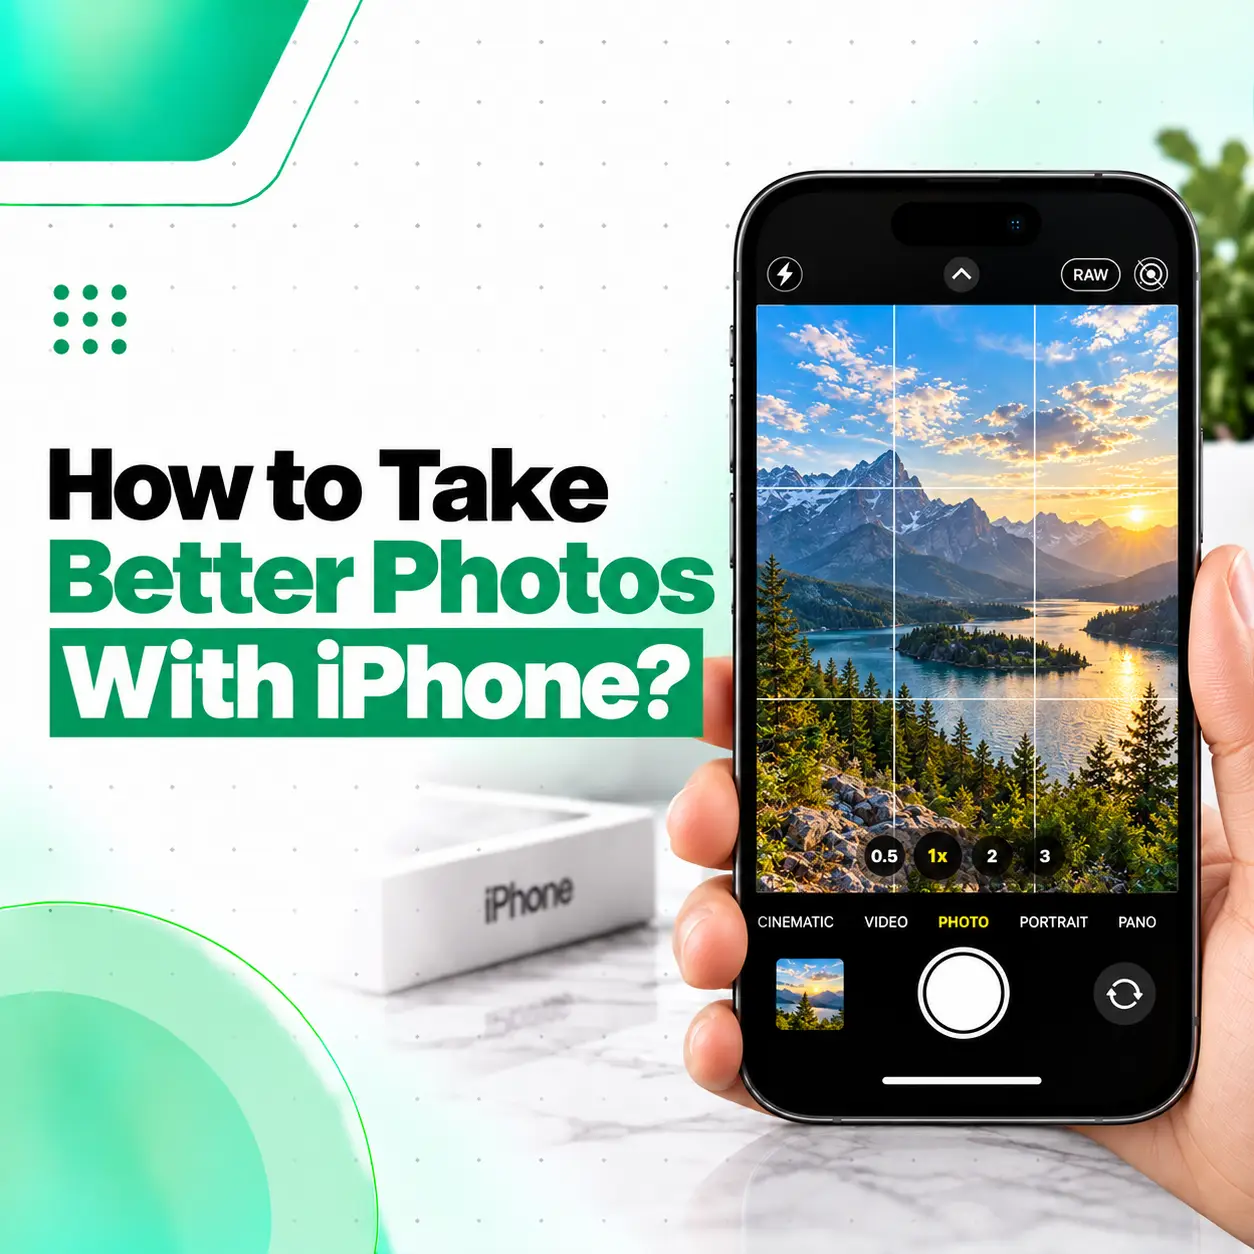
You don’t necessarily need complicated camera apps or professional photography equipment to take better photos with an iPhone. Small changes—such as cleaning the lens, improving the lighting, tapping to focus, adjusting exposure, using the right lens, and keeping the phone steady—can make a noticeable difference.
If you’re wondering how to take better photos with iPhone, the key is to use the Camera app intentionally rather than relying entirely on automatic settings. Apple’s Camera app provides tools for focus, exposure, composition, Night mode, Photographic Styles, Portrait mode, and more, although available features vary by iPhone model.
This guide explains practical iPhone photography techniques, useful camera settings, common mistakes, and situations where poor results may indicate a camera hardware problem.
How Can You Take Better Photos With an iPhone?
You can improve your iPhone photos by focusing on lighting, composition, focus, exposure, lens selection, stability, and editing.
Start with these simple steps:
- Clean the camera lens before shooting.
- Use natural or well-positioned light whenever possible.
- Tap your main subject to set focus.
- Adjust exposure if the image looks too bright or dark.
- Use Grid and Level to improve composition.
- Avoid unnecessary digital zoom.
- Keep the iPhone steady, especially in low light.
- Choose the appropriate camera lens for the scene.
- Use Portrait or Macro mode when appropriate.
- Make small, natural edits after taking the photo.
These techniques are useful whether you’re photographing people, food, products, landscapes, documents, or everyday moments.
Clean Your iPhone Camera Lens Before Taking Photos
A dirty camera lens is one of the easiest problems to overlook.
Fingerprints, dust, oil, or smudges on the lens can reduce clarity and contrast. If your photos look consistently hazy or soft, check the lens before changing camera settings.
Use a clean, soft microfiber cloth to gently wipe the camera lens. Avoid abrasive materials or excessive pressure.
If the camera remains blurry after cleaning, the problem may not simply be a dirty lens. Persistent focus problems, unusual blur, or physical lens damage may require professional inspection.
Use Better Lighting for Clearer iPhone Photos
Lighting can have a bigger impact on a photo than changing a camera setting.
Whenever possible, position your subject where there is enough light. Natural window light can work well for indoor photography, while soft outdoor light can help reduce harsh shadows.
Avoid Strong Light Directly Behind Your Subject
If a bright window or strong light source is directly behind your subject, the subject may appear too dark.
Try moving yourself or the subject so that the light falls more naturally on the subject.
Use Soft Light for Portraits
For people, soft light can produce more balanced facial tones and less aggressive shadowing.
Instead of placing someone directly under a harsh overhead light, try indirect daylight or another softer light source.
Don’t Automatically Use Flash
The flash can be useful in certain situations, but it isn’t always the best solution for poor lighting.
Before using it, consider whether you can improve the position or amount of available light instead.
Tap to Focus on Your Main Subject
The iPhone automatically handles focus and exposure, but you can manually tell the Camera app where you want the focus area.
Open Camera and tap the part of the image you want to focus on. Apple also allows you to adjust exposure beside the focus area. You can touch and hold the focus area to activate AE/AF Lock when you want to maintain focus and exposure for subsequent shots.
This is especially useful when:
- Photographing a person against a busy background
- Taking close-up photos
- Photographing food
- Shooting objects through glass
- The camera keeps focusing on the wrong object
Adjust Exposure When the Photo Looks Too Bright or Dark
After tapping your subject, use the exposure control to make the image brighter or darker.
This is useful when the automatic exposure doesn’t match the look you want.
For example, if a bright sky is causing the foreground to look unusually dark, you can experiment with exposure while checking the result on the screen.
Turn On Grid and Level for Better Composition
If your photos often look slightly tilted or poorly framed, turn on Grid and Level.
Go to:
Settings → Camera → Grid and Level
Apple provides these tools to help with composition and straightening shots.
The grid can also help you position your subject more deliberately instead of placing everything randomly in the center.
Use the Grid to Improve Framing
The grid can help when photographing:
- Buildings
- Landscapes
- Food
- Products
- People
- Interior spaces
Pay attention to horizontal and vertical lines. A horizon or building that appears noticeably tilted can make an otherwise good photo look less polished.
Choose the Right iPhone Camera Lens
Many newer iPhone models have multiple cameras, and choosing the appropriate lens can change the appearance of your photo.
Depending on your model, you may have options such as:
- Ultra Wide
- Main camera
- Telephoto
The available lenses and features vary between iPhone models.
Use the Main Camera for Everyday Photos
The main camera is often a practical choice for everyday photography because it provides a natural perspective and is designed for general-purpose shooting.
Use Ultra Wide for Large Scenes
Ultra Wide can be useful when you need to capture more of a scene—for example, landscapes, architecture, or group situations where you cannot move farther away.
Use Telephoto When Available
A telephoto camera can help you frame distant subjects without physically moving closer.
However, don’t assume that maximum zoom will always produce the clearest result. Use the optical camera options available on your model when possible and avoid unnecessary digital magnification.
Avoid Excessive Zoom
One common mistake in smartphone photography is zooming in too far.
Heavy digital magnification can make details appear less natural or more degraded. If possible, move closer to your subject or use an appropriate optical lens.
Before taking an important photo, compare the available lens options and choose the one that gives you the framing you need without excessive zoom.
Hold Your iPhone Steady
Camera movement can produce blurry photos, particularly in dim environments.
When taking a photo:
- Hold the iPhone firmly with both hands when practical.
- Keep your arms relatively stable.
- Press the shutter without abruptly moving the phone.
- In low light, remain still until the exposure finishes.
Apple notes that Night mode can take several seconds in darker conditions, and holding the iPhone steady can improve the result. A stable surface or tripod can provide additional stability.
Use Night Mode for Low-Light Photography
On supported iPhone models, Night mode activates automatically when the camera detects a low-light environment. It can brighten the scene and capture more detail, but the phone needs to remain steady while the image is captured.
For better Night mode photos:
- Hold the phone steady.
- Avoid moving subjects when possible.
- Give the camera time to complete the exposure.
- Use a stable surface or tripod for important shots.
- Avoid unnecessarily brightening the exposure.
Night mode is particularly useful for evening scenes, indoor environments, and other situations where available light is limited.
Use Portrait Mode for People and Subjects
Portrait mode can be useful when you want the subject to stand out from the background.
Depending on the iPhone model, Portrait mode can create a depth-of-field effect that visually separates the subject from the background.
For a more natural result, don’t place your subject extremely close to a complicated background. Give the camera enough distance and light to distinguish the subject from its surroundings.
Try Macro Photography for Close-Up Subjects
If your iPhone supports macro photography, you can use it to capture close-up details.
Apple explains that supported iPhones can automatically switch to the Ultra Wide camera for macro photography when you get very close to a subject. On supported models, macro photography can work at distances as close as about 2 cm.
Macro photography can be useful for:
- Flowers
- Small objects
- Textures
- Product details
- Jewelry
- Food details
If a close-up photo becomes blurry, try moving slightly farther away or switching to the appropriate lens option. Apple specifically recommends backing up or using the 0.5x camera when a macro shot becomes blurry.
Experiment With Photographic Styles
On supported iPhones, Photographic Styles allow you to change the visual character of photos while shooting.
Depending on the model, you can adjust elements such as tone, color, and intensity. Apple notes that available Photographic Style controls vary by iPhone generation.
This can be useful if you prefer a particular visual style for your everyday photos.
However, avoid making every photo heavily stylized. A natural-looking image is often easier to edit later.
Use the Right Aspect Ratio
The iPhone Camera app supports different aspect ratios on supported software and models, including 1:1, 4:3, and 16:9.
For general photography, choose the ratio that fits how you intend to use the image.
For example:
- 4:3: General-purpose photography
- 1:1: Square social-media-style compositions
- 16:9: Wider framing
The exact options can depend on your iPhone and iOS version.
Use Live Photos When the Moment Is Difficult to Capture
Live Photos capture movement and audio around the moment you take the photo.
This can be useful when photographing:
- Children
- Pets
- Moving subjects
- Group photos
- Candid moments
If your subject moves slightly as you press the shutter, having a Live Photo can give you more material to work with afterward.
Take Multiple Photos When the Moment Matters
For an important moment, don’t rely on a single frame.
Take several photos with slightly different timing or composition. This is particularly helpful for:
- Group photos
- Children
- Pets
- Moving subjects
- Events
- Portraits
You can then choose the sharpest and best-composed image afterward.
Edit Your iPhone Photos After Taking Them
Good photography doesn’t necessarily end when you press the shutter.
The Photos app provides editing tools for adjustments such as lighting, color, cropping, and rotation. Apple also provides an automatic Enhance option on supported software.
Keep Editing Subtle
A common mistake is over-editing.
Start with small adjustments to:
- Brightness
- Highlights
- Shadows
- Contrast
- Color
- Crop
- Straightening
Compare your edited version with the original before saving the changes.
If the image starts looking unnatural, reduce the strength of the adjustment.
Common Mistakes That Make iPhone Photos Look Worse
Even a capable iPhone camera can produce poor results when the shooting technique is not appropriate.
Dirty Lens
A smudged lens can make photos look hazy or soft.
Poor Lighting
Very dark or extremely harsh lighting can make it difficult to capture balanced details.
Excessive Zoom
Too much digital magnification can reduce apparent detail.
Camera Movement
Shaking during exposure can create motion blur.
Incorrect Focus
If the camera focuses on the background instead of the subject, the main subject may appear soft.
Over-Editing
Excessive sharpening, contrast, saturation, or filters can make an image look unnatural.
Damaged Camera Hardware
If photos remain blurry, distorted, foggy, or unusually discolored after cleaning the lens and trying different shooting conditions, the camera hardware may need inspection.
How to Know If Your iPhone Camera May Have a Problem
Not every poor-quality photo means the camera is damaged.
First check:
- Is the lens clean?
- Does the problem happen in good lighting?
- Does it occur with different camera lenses?
- Does the camera focus correctly?
- Is the issue present in every photo or only certain scenes?
- Is there visible physical damage around the camera?
- Does the camera app behave normally?
If the same problem consistently appears under normal conditions, professional inspection may help determine whether the issue involves the camera module, lens, focus mechanism, software, or another component.
When Should You Get Your iPhone Camera Checked?
Consider professional inspection if your iPhone consistently shows symptoms such as:
- Camera remains blurry after cleaning the lens
- Camera cannot focus properly
- Photos show unusual lines or artifacts
- Camera preview becomes black
- Camera shakes unexpectedly
- Lens appears physically damaged
- Camera problems started after a drop or impact
- Moisture or fog appears around the camera lens
- One camera works while another consistently fails
A professional technician can assess whether the problem is related to software, the camera module, physical damage, or another internal component.
Frequently Asked Questions
1. How can I take better photos with my iPhone?
Start with good lighting, a clean camera lens, accurate focus, and stable handling. Tap your subject to control focus and adjust exposure when necessary. Use Grid and Level for composition, select an appropriate lens, and avoid excessive zoom. For low-light scenes, keep the phone steady while Night mode captures the image.
2. What are the best iPhone camera settings for photos?
There isn’t one universal setting that works best for every situation. Useful options include Grid and Level for composition, exposure adjustment for difficult lighting, Night mode for supported low-light situations, Portrait mode for suitable subjects, and Macro mode for supported close-ups. The available controls depend on your iPhone model and iOS version.
3. How do I make my iPhone pictures look more professional?
Focus on photography fundamentals rather than relying on filters. Use good lighting, clean the lens, compose the shot carefully, tap to focus, control exposure, and keep the phone steady. Choosing an appropriate lens and making subtle edits afterward can also improve the final image without making it look artificially processed.
4. Why are my iPhone photos blurry even when the camera is clean?
Blurry photos can result from camera movement, incorrect focus, low light, a moving subject, or a camera-related hardware problem. Try better lighting, tap the subject to focus, hold the iPhone steady, and test different camera lenses. If consistent blur remains across normal shooting conditions, professional inspection may be appropriate.
5. Should I use zoom when taking photos on an iPhone?
Use zoom when it helps you achieve the composition you need, but avoid unnecessary digital magnification. If your iPhone has multiple optical camera options, choosing the appropriate lens can help you frame a distant subject more effectively. For maximum image quality, compare the available lens options rather than always using the highest zoom level.
6. How can I take better iPhone photos at night?
Use Night mode when your supported iPhone activates it in low-light conditions. Keep the phone very steady during the capture, avoid unnecessary movement, and use a stable surface or tripod when practical. Apple notes that Night mode exposure can take several seconds depending on the lighting, so moving the phone too soon can affect the result.
7. When should I get my iPhone camera professionally repaired?
Consider professional inspection if the camera stays blurry, cannot focus, produces unusual artifacts, shows a black preview, shakes unexpectedly, or develops problems after physical or liquid damage. Basic camera settings cannot resolve every hardware problem. A technician can inspect the device and determine whether the issue involves the camera component or another internal part.
Conclusion
Learning how to take better photos with iPhone is mostly about using the camera intentionally. Clean the lens, find better light, tap to focus, adjust exposure when needed, use Grid and Level for composition, choose the appropriate lens, keep the phone steady, and use Night mode or Macro mode when the situation calls for it.
If your photos remain consistently blurry, distorted, foggy, or otherwise abnormal even after trying these basic steps, the problem may be related to the device rather than your photography technique. In that situation, a professional inspection can help identify the cause. iCareFix can assess the iPhone camera and recommend an appropriate repair option based on the device’s condition.