




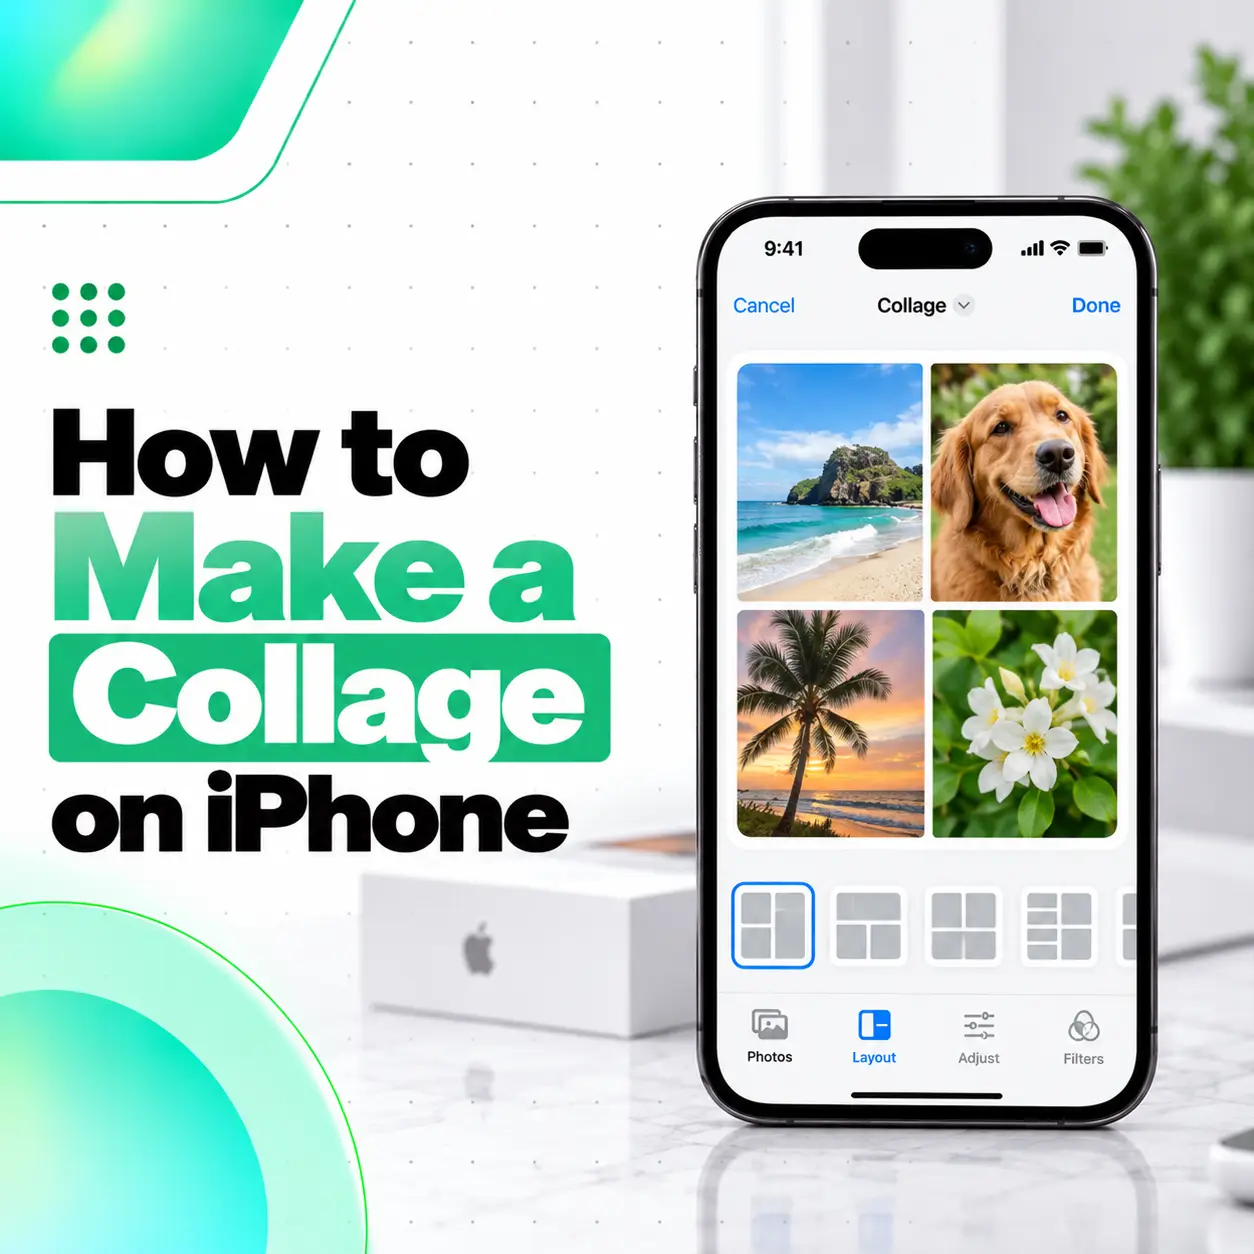
Want to place several iPhone photos into one image for Instagram, Facebook, a before-and-after comparison, a product showcase, or a personal memory? You do not need advanced photo-editing skills.
If you searched “how to make collage in iPhone,” the easiest options are Apple Shortcuts for a quick photo grid, Freeform for a manually designed layout, or Google Photos when you want ready-made collage templates.
The right method depends on how much control you need. Shortcuts is ideal for speed, Freeform gives you more freedom over positioning, and Google Photos provides a dedicated collage editor.
This guide explains each method step by step, along with layout tips, quality considerations, troubleshooting, and the easiest option for different situations.
Can You Make a Collage on an iPhone?
Yes. You can combine multiple photos into a single collage directly from an iPhone using tools such as Shortcuts and Freeform, or use a dedicated collage feature in an app such as Google Photos.
Apple’s Shortcuts system includes a Combine Images transform action, which can process several images into one output.
The best method depends on what you want:
| Method | Best For | Extra App Needed? | Layout Control |
| Shortcuts | Fast, simple photo grids | No dedicated collage app | Moderate |
| Freeform | Custom manual layouts | Apple app | High |
| Google Photos | Templates and easy editing | Yes | High |
If you simply want several pictures arranged neatly into one image, start with Shortcuts.
How to Make a Collage on iPhone Using Shortcuts
Using Shortcuts is one of the easiest ways to make a collage on an iPhone without installing a dedicated collage-making app.
Apple confirms that Shortcuts includes a Combine Images action for transforming multiple images into a combined result.
Step 1: Open the Shortcuts App
Open the Shortcuts app on your iPhone.
If you previously removed the app, you may need to reinstall Apple’s Shortcuts app before continuing.
Step 2: Create a New Shortcut
Tap the + button to create a new shortcut.
You can rename it something simple, such as:
Photo Collage
This makes it easier to find and reuse later.
Step 3: Add the Select Photos Action
Tap Add Action and search for:
Select Photos
Add the action to your shortcut.
If available in the action settings, enable the option that allows you to select multiple photos.
This lets you choose several pictures each time the shortcut runs.
Step 4: Add the Combine Images Action
Add another action and search for:
Combine Images
The selected photos will be passed into this action.
Depending on the options available on your iOS version, you may be able to arrange images using a horizontal, vertical, or grid-style configuration.
Apple identifies Combine Images as one of the image-processing transform actions available in Shortcuts.
Step 5: Adjust the Image Spacing
If your Combine Images action provides a spacing setting, adjust it based on the look you want.
For example:
- 0 spacing: Photos touch each other.
- Small spacing: Creates a clean photo-grid appearance.
- Larger spacing: Separates each photo more clearly.
A small gap usually works well for social media collages.
Step 6: Add Save to Photo Album
Add another action and search for:
Save to Photo Album
Place it after Combine Images.
Your shortcut should follow this basic flow:
Select Photos → Combine Images → Save to Photo Album
Step 7: Run the Shortcut
Tap the shortcut and select the photos you want to combine.
The shortcut processes them into one image and saves the final result to your photo library.
Why Use Shortcuts for an iPhone Collage?
Shortcuts works particularly well when you want:
- A quick photo grid
- Before-and-after photos
- Product comparisons
- Two photos side by side
- Screenshots combined into one image
- Several images stacked vertically
- A repeatable collage workflow
Once you create the shortcut, you can reuse it whenever you need another collage.
How to Put Two Photos Side by Side on iPhone
The same Shortcuts method can be used when you only need two photos side by side.
Select two images and use the Combine Images action with a horizontal arrangement.
This can be useful for:
- Before-and-after comparisons
- Old photo vs new photo
- Product comparisons
- Design comparisons
- Screenshot comparisons
- Repair before-and-after photos
For photos that should appear one above the other instead, use a vertical arrangement where available.
How to Make a Custom Collage on iPhone Using Freeform
Use Freeform when you want more control over where each photo appears rather than automatically placing everything into a fixed grid.
Apple’s Freeform app allows you to add photos and other media to a flexible board. Images can also be cropped or masked, and supported images can have their backgrounds removed.
Step 1: Open Freeform
Open the Freeform app and create a new board.
Apple describes Freeform as an expandable canvas where you can add photos, text, shapes, files, and other content.
Step 2: Add Your Photos
Use the media control to insert photos from your iPhone.
Add all the images you want to use in your collage.
Step 3: Resize and Arrange the Images
Move each image around the board and resize it until the layout looks balanced.
Unlike an automatic grid, Freeform allows you to build layouts such as:
- Two-image comparisons
- Scrapbook-style collages
- Mood boards
- Overlapping photo compositions
- Product collections
- Travel photo boards
- Custom photo-and-text designs
Step 4: Crop or Format Your Photos
Freeform includes image-formatting options such as cropping or masking photos. Depending on the image and available features, you can also apply options such as rounded corners, shadows, or background removal.
These controls give you more creative freedom than a simple automated grid.
Step 5: Save or Share the Finished Layout
Freeform supports sharing and PDF export. Apple also notes that taking a screenshot is an option when you need a PNG-style image of the board.
For a simple social-media collage, frame the design neatly on screen before capturing or exporting it.
How to Make a Collage on iPhone Using Google Photos
Google Photos is a useful option if you prefer a dedicated collage editor with templates instead of manually creating a Shortcuts workflow.
Google’s current iPhone documentation says you can select photos, choose Create → Collage, choose a template, rearrange images, replace photos, zoom or reposition them, and save the finished collage.
Step 1: Open Google Photos
Open the Google Photos app on your iPhone.
Make sure the photos you want to use are accessible inside the app.
Step 2: Select Your Photos
Select the images you want in the collage.
Google currently allows users to pre-select up to six photos when starting a collage through this workflow.
Step 3: Choose Collage
Tap Create, then choose:
Collage
Alternatively, depending on your app interface, you may be able to open the Create area first and then choose a collage template.
Step 4: Choose a Layout
Browse the available collage designs and choose one that works with your selected photos.
Different layouts may work better for:
- Portrait photos
- Landscape images
- Product photos
- Travel pictures
- Family photos
- Social media posts
Step 5: Edit Your Photos
Google Photos allows supported collage layouts to be customized.
You may be able to:
- Replace a photo
- Reorder photos
- Zoom an image
- Reposition an image inside its frame
- Add or remove image slots
- Change the template
Google notes that some of the newer collage-editor features require iOS 18 or later and a sufficiently recent version of the Google Photos app. Feature availability can also vary by device.
Step 6: Save the Collage
Once everything looks correct, tap Save.
You can then share the collage through messaging apps, social media, email, or other supported services.
Shortcuts vs Freeform vs Google Photos: Which Is Better?
There is no single best option for every collage.
Choose based on what you are trying to create.
| Feature | Shortcuts | Freeform | Google Photos |
| Quick collage | Excellent | Average | Excellent |
| Automatic layout | Yes | No | Yes |
| Manual positioning | Limited | Excellent | Moderate |
| Templates | Limited | No traditional collage templates | Yes |
| Reusable workflow | Excellent | Moderate | Good |
| Creative freedom | Moderate | Excellent | Good |
| Beginner friendly | Good | Good | Excellent |
Choose Shortcuts If:
You regularly combine photos and want a fast, repeatable workflow.
Choose Freeform If:
You want to manually arrange photos, create irregular layouts, add visual elements, or build something similar to a mood board.
Choose Google Photos If:
You want templates and an easier dedicated collage interface without building your own shortcut.
How to Make Your iPhone Photo Collage Look Better
Creating a collage is easy. Making it visually balanced requires a little more attention.
Use Photos With Similar Orientation
Combining four portrait photos usually produces a cleaner grid than mixing several extreme portrait and landscape images.
If orientations differ significantly, crop them before creating the collage.
Keep Important Subjects Away From the Edges
Automatic collage layouts may crop portions of an image.
Make sure important faces, products, text, or objects are not positioned too close to the edge of the original photo.
Avoid Using Too Many Photos
More photos do not automatically make a better collage.
For most social media graphics, 2–6 carefully selected images are easier to view than a crowded layout containing many small photos.
Maintain Consistent Spacing
Uneven gaps can make an otherwise good collage look unpolished.
For grid layouts, use consistent spacing between each image.
Check the Final Image Before Posting
Zoom into the completed collage and inspect:
- Image sharpness
- Cropping
- Faces
- Text readability
- Alignment
- Empty space
- Overall balance
This is especially important if the collage will be used for business or promotional content.
Why Does My iPhone Collage Look Blurry?
A collage can appear blurry if the original photos are low-resolution, screenshots have been heavily cropped, an app compresses the output, or individual images are enlarged beyond their usable resolution.
To reduce quality loss:
- Start with the original photos when possible.
- Avoid repeatedly saving and re-editing compressed images.
- Do not enlarge small screenshots excessively.
- Preview the final collage at full size.
- Use an export or saving option that preserves suitable image quality.
If the original photo is already blurry, creating a collage will not restore missing detail.
Why Is My iPhone Collage Not Saving?
If a collage or Shortcut does not save correctly, check a few basic things first:
- Make sure the app has appropriate Photos access.
- Confirm there is enough available device storage.
- Close and reopen the app.
- Check that every action in the Shortcut is connected correctly.
- Make sure the final Save to Photo Album action is present.
- Try using fewer photos.
- Restart the iPhone if an app repeatedly freezes.
Shortcuts run actions sequentially from the top of the workflow to the bottom, so an incorrectly configured or failing action can prevent later steps from completing.
Is It Safe to Use a Third-Party Collage App?
It depends on the app and the permissions you grant.
Before giving an app access to your photo library, review:
- Who developed the app
- What photo permissions it requests
- Whether selected-photo access is sufficient
- Its privacy information
- Whether images are processed locally or uploaded
- Subscription or in-app purchase conditions
Avoid granting unnecessary access simply to create a basic collage.
If you only need a simple grid, using Apple tools such as Shortcuts may reduce the need for another photo-editing app.
Frequently Asked Questions
1. Can I make a collage directly on my iPhone?
Yes. You can create a collage using Apple tools such as Shortcuts or Freeform without needing a dedicated collage-maker. Shortcuts is useful for automatically combining several images, while Freeform gives you more freedom to resize and position images manually. You can also use apps such as Google Photos for template-based collages.
2. How do I make a collage on iPhone without a third-party app?
Use the Shortcuts app. Create a shortcut that selects multiple photos, passes them through the Combine Images action, and then saves the result to your photo album. This is one of the most practical options when you want a simple grid or side-by-side image without installing another collage application.
3. How do I put two pictures side by side on an iPhone?
A simple method is to use Shortcuts. Select the two photos, combine them using a horizontal image arrangement where available, and save the resulting image to Photos. This works particularly well for before-and-after images, screenshot comparisons, product comparisons, and other situations where both photos should be visible at the same time.
4. Can I create a photo grid on iPhone?
Yes. The Combine Images action in Shortcuts can be used to combine multiple selected images into a single result. Depending on the available action options and iOS version, you can configure how the images are arranged and adjust spacing to create a cleaner grid-style appearance.
5. What is the easiest way to make a collage on iPhone?
For a quick reusable collage, Shortcuts is a strong choice. For ready-made templates, Google Photos is easier for many beginners. If you want complete control over where each photo sits, Freeform is more flexible. The easiest option therefore depends on whether you prioritize speed, templates, or manual design control.
6. How many photos should I use in an iPhone collage?
There is no universal limit across every collage method, but fewer photos are usually easier to view. Two to six images work well for many social posts and comparison layouts. Google Photos currently supports pre-selecting up to six photos in its documented iPhone collage workflow, although available templates and features can change.
7. Can I edit a collage after creating it?
That depends on the method. Google Photos provides editing controls for supported collages, including changing layouts, repositioning photos, replacing images, and resizing within frames. Freeform remains flexible because individual objects stay editable on the board. A flattened image created through Shortcuts is generally better treated as a finished output, so keep the original photos if you may need to recreate it.
Conclusion
Learning how to make a collage on iPhone does not require complicated editing software.
For the quickest solution, create a reusable Shortcuts workflow using Select Photos and Combine Images. Choose Freeform when you want to manually control the arrangement, or use Google Photos when templates and built-in collage editing are more important.
Whichever method you choose, start with good-quality images, keep the layout simple, check cropping carefully, and review the finished image before sharing it.
If your iPhone cannot complete these steps because of persistent touchscreen problems, storage-related issues, app crashes, display faults, or another device problem, professional inspection may help determine whether the issue is software- or hardware-related. iCareFix can assist users looking for professional iPhone repair support in Bangladesh without requiring you to guess what component is causing the problem.